Thursday, September 18, 2008

ROOK SCARF
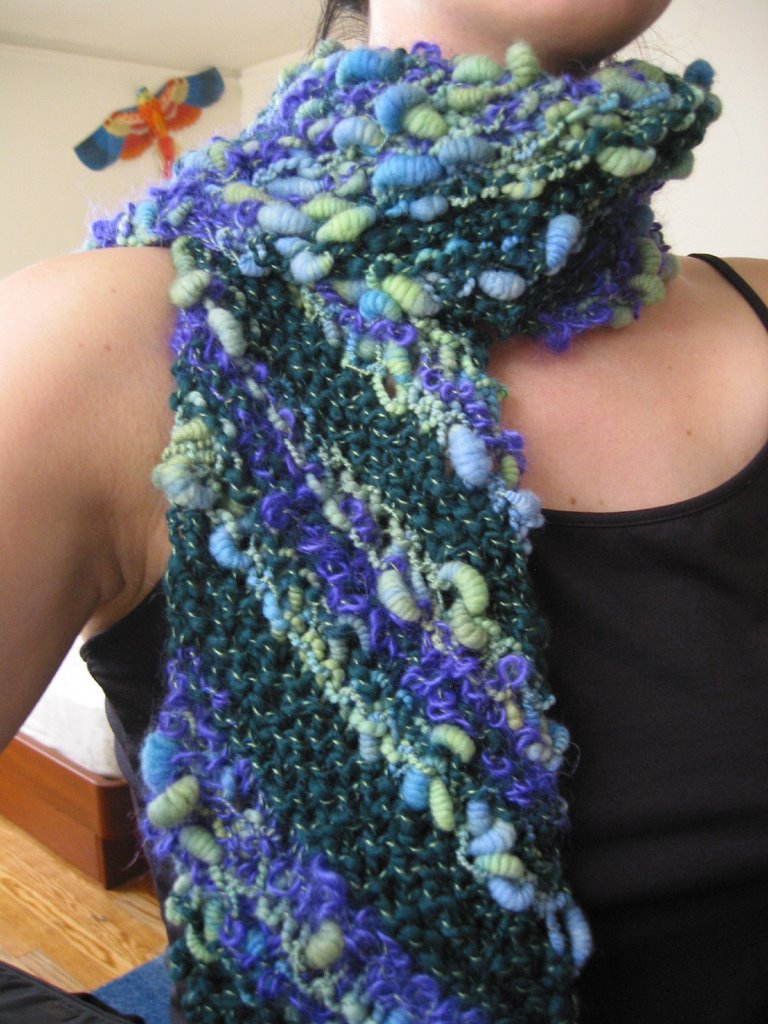
a reversible scarf to match the Rook Hat


For this scarf you will need:
Yarn: 2 or more skeins of worsted to bulky self-striping yarn like Noro Kureyon or SWTC Karaoke.
Hook: size K
Scarf Width: using Noro and following this pattern, you will get a scarf width of 7”. When varying the scarf width, make sure you are working across an odd number of stitches.
Terms: ch = chain, st = stitch, sc = single crochet, dc = double crochet

The Pattern:
Ch 20 loosely. Work a sc in the back “bump” of each chain across. (19sc’s total)

Work Even Rows:
Ch 1, work a sc in each st across. (19 sc)

Repeat the Work Even Rows until the color of your yarn has changed. At the beginning of the next row (it doesn’t matter which side of the piece because it’s reversible), go to V Row.

V Row:
Ch 1, *sc in the next st, dc in the space 2 rows below the next st* across, ending the row with a sc.
Go back to Work Even Rows until the next color change, then work another V Row. Repeat until scarf is desired length.
Pattern & images © 2008 Sophia Kessinger
ROOK HAT


For this hat you will need:
Yarn: 1 skein of Noro Kureyon (for adult medium size) or SWTC Karaoke (for adult small size). If you want to make your hat bigger, you will need more yarn. Adapting for a larger size is explained in the pattern.
Hook: size K
Removable stitch marker

Specs:
Size & Gauge:
Kureyon: gave me 2.75 sc over 1”, and made a hat that would fit a 22”-23” circumference head.
Karaoke: gave me 3 sc over 1”, and made a hat that would fit a 21”-22” circumference head.

Terms:
sl st = slip stitch, sc = single crochet, dc = double crochet, pm = place marker, ch = chain

The Pattern:
It’s called “Rook”, because the stitch pattern reminded my boyfriend of the top of the chess piece. This was written specifically for self-striping yarn, with the intention that it add a little fun texture and color displacement along the stripes.
The color changes in the yarn dictate when to move from one part of the pattern to the other.


Ch 4, join with a sl st to the 1st chain to form a loop.
1) Pm (through the loop currently on the hook, to mark beginning of round), work 6 sc in the loop.
2) Pm, 2 sc in every stitch around.
3) Pm, *1 sc in the next st, 2 sc in the following st* around.
4) Pm, *1 sc in each of the next 2 sts, 2 sc in the following st* around.
5) Pm, *1 sc in each of the next 3 sts, 2 sc in the following st* around.
6) Pm, *1 sc in each of the next 4 sts, 2 sc in the following st* around.
7) Pm, *1 sc in each of the next 5 sts, 2 sc in the following st* around.
8) Pm, *1 sc in each of the next 6 sts, 2 sc in the following st* around.
If you want a bigger hat, add another round or two of increases here.

Even Rounds:
Sc in each st around for about 5 rounds or until you notice your yarn has totally changed to a different color. You may be in the middle of a round; it doesn’t matter. Immediately go to V Round.

V Round:
Pm, *sc in the next st, dc into the space 2 rows below the next st* around, ending with dc into the space 2 rows below the next st.
See pictures for illustration of the V round.

The toothpick is indicating the space into which you dc. (It’s 2 rows down and a bit to the left)


Insert hook into this space, draw up a loop of yarn and continue to work a dc as usual.


Continue the pattern by working more Even Rounds until the color changes again, then working another V Round. Repeat until you run out of yarn.
If you have a few skeins of the same yarn, you can make a matching reversible Rook Scarf.
Pattern & images © 2008 Sophia Kessinger
Mini Muffin Hat


For this pattern you will need:
Yarn: oddments of DK or Light Worsted Yarn held doubled throughout.
You’ll need at least 2 colors. (the examples pictured used Katia Diana)
Crochet Hook: size K
Removable stitch marker

Specs:
Gauge: 3 sc = 1”
Size: for a Baby (head circumference up to 15”)

Terms:
ch = chain, st = stitch, sl st = slip stitch, pm = place marker, sc = single crochet, *to* = repeat

The Pattern:
Ch 4, sl st to first chain to form a loop.
Rnd 1: pm on loop currently on hook to show the beginning of the round.
6 sc in ring.

Rnd 2: pm, work 2 sc in each st around.

Rnd 3: pm, *1 sc in the next st, 2 sc in the following st* around.

Rnd 4: pm, *1 sc in the next 2 sts, 2 sc in the following st* around.

Rnd 5: pm, *1 sc in the next 3 sts, 2 sc in the following st* around.

Rnd 6: pm, *1 sc in the next 4 sts, 2 sc in the following st* around.

Rnd 7: pm, *1 sc in the next 5 sts, 2 sc in the following st* around.

Rnd 8: pm, 1 sc in each sc around, then sl st to the first sc of this round, cut yarn, and fasten off (there should be 42 sts total from here on)

Join new color to the st to the left of the st just fastened off.
Rnd 9: pm, ch 1, *sc into the space one row below the next st, sc into the following st* around, ending with sc into the space one row below. Sl st to ch 1.


Rnd 10: pm, ch 1, 1 sc in each st around.

Rnds 11-14: Repeat Rnd 10. End Rnd 14 with a sl st to ch 1. work the sl st using a new color.

Rnd 15: pm, ch 1, *sc into the space 2 rows below the next st, sc in the following st* around, ending with sc in into the space 2 rows below. Sl st to ch 1.
When working the sc’s into the space 2 rows below, make sure you don’t crochet too tightly; otherwise your work will pucker.


Rnd 16: pm, ch 1, sc in each st around.

Rnds 17 & 18: Repeat Rnd 16, ending with a sl st to the ch 1. Cut yarn and fasten off.

Rnd 19: attach new color. pm, sc in each st around.

Rnds 20-23: pm, sc in the back loop only of each st around.
Add pompom or tassel if desired.


Pattern & images © 2008 Sophia Kessinger

Tuesday, September 26, 2006

Go Diagonal!
Anyway, here's how it looks worn (I'm totally wearing this next time I go to the East Village or SoHo):
And here it is lying flat:
I think the reason the lengthwise thing wasn't working for me was because I am an obsessive control freak when it comes to self-striping things, and I wanted to preserve the texture differences (they were getting lost the other way). Also, I didn't want to waste any of this yarn with Cast ons and Bind offs!

Solution? Go Diagonal!
(The above scarf was knitted with size #13 needles. The yarn was 110 yds. The maker of this yarn is Jacey of Insubordiknit. If you can't score any of that stuff, any self striping yarn will do)

Terms: Make One= Knit into the Front and Back of same stitch
Make Two= Knit into the Front, Back and Front of same stitch

CO 1 st
RS: Make Two: Keeping that one stitch on the left needle, Knit into the front, back, and front again of that one stitch. You now should have 3 sts.
WS: Knit those 3 sts
RS: Make One in the first stitch(K F&B), knit the middle stitch, Make One in the last st (5 sts)
WS: Knit across
RS: Make One in the first st (K F&B), knit to the last stitch, Make One. (7sts)

Continue in this manner, K F&B increasing in the first and last sts of the RS rows, and Knitting the WS rows until the scarf is the Width you want it. I increased until I had 19 sts.

Next RS row: K F&B of first stitch, knit until you reach the last two sts, K2tog.
WS: Knit

Keep doing this until your scarf is the Length you want it. I went for about 50".

Next RS row: K2tog, knit until you reach the last two sts, K2tog
WS: Knit

Continue until you've got 3 sts remaining. The next RS row, Knit these 3 sts tog. Cut yarn and draw through last loop. Weave in and you're done.

A little update: this pattern has been published in the book, Intertwined by Lexi Boeger!

Saturday, July 22, 2006

Lettuce Mesh
Market Bag


(pattern is for the bag pictured at top)

Materials:

yarn:
Sugar n' Cream Ombre 2 balls (I used about one and a half balls, but note the ombres are 95 yds., and the solids are 12o yds. You can probably make this bag with one ball of solid). Pictured colorway is "Painted Desert" for the top bag, and "Hot Green" and "Cream" for the bottom bag

optional: Small amount contrasing color yarn for crochet edging

needles: size 7 circular 16"
crochet hook size G (for optional edging)

gauge: not really important. I was getting about 4 sts to 1 inch.

finished measurements:
strap width: 1.75 inches
strap length: 26 inches
bag opening: 12.5 inches across
length of bag (excluding strap): 14 inches
width of bag: will stretch from 12-20 inches or so

Garter Stitch strap and Bag Rim:

Cast on 80 stitches using long tail method

Rows 1-10: Knit

Bind off all stitches. You will have one loop left on your right needle. Do not cut yarn! ( I bound off in purl to keep an edge that matched the cast on)

Now we work the top of the bag.

Turn work clockwise so that the one remaining loop is at the upper right corner of the strap.

Pick up 6 stitches along the short edge of the strap (one stitch picked up per garter ridge). You should now have 7 stitches on you needle: the loop + 6 picked up.

Cast on 34 stitches using the backwards loop method.

Making sure the strap isn't twisted, pick up 6 stitches along the other short end of the strap.

Cast on 33 stitches using the backwards loop method.

You should now have 80 stitches on your circular needle.

Making sure the stitches aren't twisted, place a marker and get ready to join in the round.


Body of Bag:

Working in the round:

row 1: Purl
row 2: Knit
row 3: Purl
row 4: Knit
row 5: Purl

Bind Off (I also bound this off in purl)

Cut yarn.

Rejoin yarn (in a contrasting color if you like: see bottom pic) and pick up 80 stitches along the bound off edge; one picked up stitch per bound off stitch.

Begin working in the round again.
Knit for 25 rows or until the bag is about a third of the depth you want it to be.

Next row: K1 stitch, drop the next stitch off the needle. Repeat around. (You are knitting all of the odd numbered stitches 1, 3, 5, etc., and dropping all of the even ones off the needle)

You should now have 40 stitches left on your needle.

Let em' Rip: Carefully holding onto your needle tips to secure your remaining 40 stitckes, rip the dropped stitches down to the rim of the bag. This created the meshed look and expands the bag. If you prefer, finish the bag first, then rip down the dropped stitches.

Next Row: K2 top all around. 20 stitches remain.

Cut yarn leaving a long tail. Weave it tightly through the 20 stitches several times to close the hole. (If you want a straight bottomed bag, bind off, fold in half and seam edges.)

Weave in ends

Optional Edge: This is if you want to keep the strap and the fim of the bag from stretching.

Using crochet hook size G and contrasting colored yarn, pull up a stitch through the back loop of a cast off edge at a corner where the strap and bag rim meet.

Slip stitch and chain 1

Continue to slip stitch in the back loops of the cast on/off edges. This is to preserve the look of the Garter Stitch borders. The exception to this is the bound off edge of the strap; here you want to slip stitch through the front loop of those 80 bound off stitches.

Slip stitch through the first chain 1, cut yarn

Repeat for the other side.

Weave in ends.